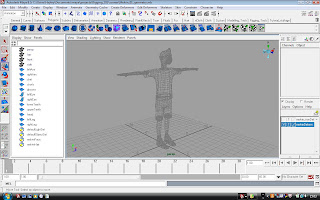
The model of 'Melvin' came with the rigging book, so I will be rigging him from scratch. My aim is to have a fully functioning rig that I can animate with and create to begin with a run cycle as this will work towards my final film.

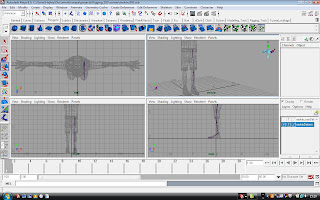
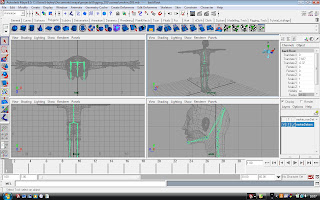
I started by creating joints in Melvin's legs and then for this body and head.

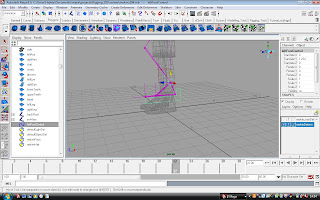
 It then came to testing the angles of how the skeleton works, and adding IK handles to the feet in order to make them plant properly and have more control on the feet.

Having added the IK handles for both feet and coloured them accordingly:
- The difference between IK and FK (it always confused me).
- How to rig the legs
- Adding attributes to the legs in order to rotate the bones from the controller
- How to add prefixes to names easily!
Carrying on with Melvin's rigging, this time with the arm set up. I do think it is a little wierd that the book does not move onto the hand setup after this, as it moves to the back and animating straight after this, but I will follow it through.


This time locators were used to influence where the arm bends so that the IK handle does not bend incorrectly in the middle of the forearm.
My focus for this term is to learn facial rigging so that I can create the blendshapes necessary for our characters over the winter period. I have therefore started a tutorial on it.
The first stage was to set up the character for the blend shapes by painting the weights into the face using the Edit Membership tool and the Paint Cluster Weights tool. I have never done this before and had to find video reference of how to use the Paint Cluster Weights tool but once I got the hang of it I was quite pleased with the results.
 I used the Reduce and Smooth tools mostly to widen Melvin's mouth and make the skin smooth around it.
 The next stage was to create a cluster for the mouth so that when it opens the cheeks also go inwards. This was done again using painting weights and then setting the cluster to be driven and the cheeks change shape as the jaw open joint is rotated on the axis.The next stage and aim for the weekend is to create the blend shapes so that I can animate and test Melvin :)
I have been carrying on with the facial rigging, this time creating the different expressions for the blendshapes.

I used a Nurbs curve and the Wire Tool to influence the shape of Melvin's face as you can see below:

Subscribe to:
Post Comments (Atom)


No comments:
Post a Comment